Tag: CookingTips

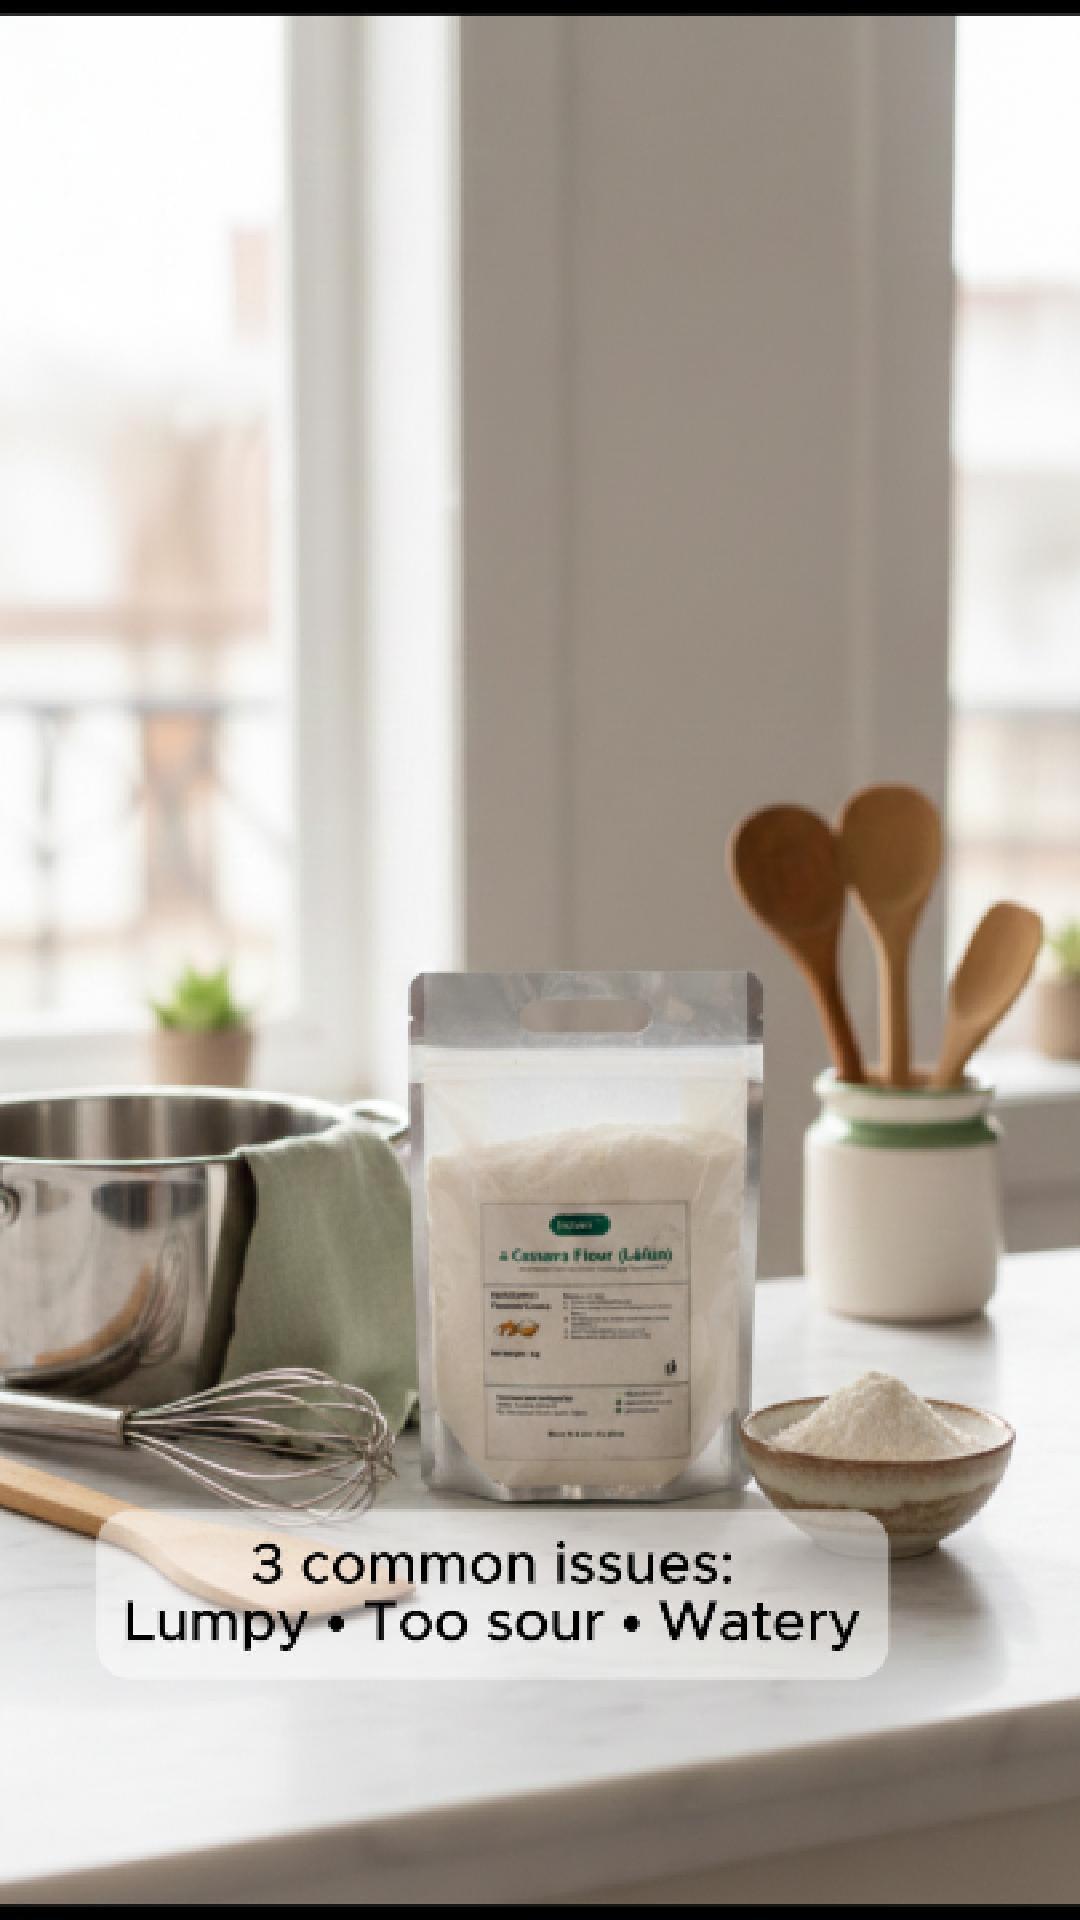
  • Amala Lafun Troubleshooting: Why Your Láfún Turns Lumpy, Too Sour, or Watery (and How to Fix It)

    Amala Lafun Troubleshooting: Why Your Láfún Turns Lumpy, Too Sour, or Watery (and How to Fix It)

    If your amala lafun has ever come out lumpy, too sour, or watery, you’re not alone. Láfún (lafun) is fermented cassava flour—so it behaves a little differently from other swallows. The good news? You don’t need magic. You need the right heat, the right “pour style”, and one or two rescue tricks.

    This post is a save-and-use guide: quick fixes first, then simple prevention so your next pot is smooth from the start.


    What you’ll need (simple)

    • Láfún (fermented cassava flour) – finely milled works best
      Buy here: https://greenunison.com/product/nature-powered-lafun/
    • Water
    • A balloon whisk (or sturdy fork)
    • Pot + wooden spatula/turning stick
    • Optional: a pinch of salt

    Want to browse all flour options?
    Shop flours: https://greenunison.com/shop/flours/
    Full shop: https://greenunison.com/shop/


    The quick method for smooth amala lafun (lump-free)

    This is the fast, repeatable method when you want smooth amala without drama.

    Step 1: Get the water properly hot

    Bring water to a rolling boil, then reduce to medium heat (still steaming/hot, not raging).
    Why it matters: lafún needs enough heat to hydrate and “set” smoothly.

    Step 2: Whisk first, then sprinkle like rain

    Keep your whisk moving and sprinkle the lafún gradually—don’t dump it in one go.
    You’ll see it thicken quickly.

    Step 3: Switch to spatula and “turn” to finish

    Once it gets thick enough that whisking feels heavy:

    • switch to your wooden spatula
    • press + fold + turn until smooth
    • cover for 30–60 seconds (optional), then give one final smooth turn

    Serve immediately with your favourite soup.


    Quick ratio guide (start here, then adjust)

    Flour fineness and your preferred firmness can change the exact feel, so use this as a reliable starting point:

    • 1 cup lafún : 2–2½ cups water → classic swallow texture
    • Prefer it softer? add hot water 1–2 tablespoons at a time while turning.
    • Too soft? sprinkle a little more lafún and turn until it firms up.

    Tip: Always adjust with hot water, not cold—cold water shocks the texture and can bring back lumps.


    Troubleshooting (save this section)

    1) “My amala is lumpy” — why it happens + the fast fixes

    Why it happens

    • You poured flour too quickly (the outside gels before the inside hydrates)
    • The water wasn’t hot enough
    • Whisking stopped too early

    Fix now (pick one)

    Option A: Hot-water rescue (fastest)

    1. Take the pot off heat.
    2. Add 2–4 tbsp hot water.
    3. Whisk aggressively for 20–30 seconds.
    4. Return to medium heat and turn smooth.

    Option B: Press & turn
    Use your spatula to press lumps against the pot side while turning.
    This breaks the clumps and smoothens the texture.

    Option C: Beginner-safe slurry method (next time)
    If lumps keep happening, do this:

    • Mix a small portion of lafún with a little cool water to make a thin slurry (no lumps).
    • Pour the slurry into hot water while whisking, then add remaining lafún gradually.

    Prevent next time (the “3 rules”)

    • Keep water hot (medium heat, steaming)
    • Whisk continuously before it thickens
    • Sprinkle lafún gradually—never dump

    2) “It smells/tastes too sour” — what’s normal vs what’s a red flag

    First: a quick reality check

    Láfún is fermented, so a mild tangy aroma is normal. But sharp sour, musty, or “something is wrong” smells usually point to storage/moisture issues.

    If it’s just “too tangy” (but still clean)

    Try this:

    • Cook for an extra 60–90 seconds while turning (it helps reduce raw/strong aroma).
    • Pair with a rich soup—strong soups balance tang better.
    • Next time, start with slightly more water (a too-thick base can concentrate aroma).

    If it smells musty, mouldy, or “off”

    Don’t try to rescue it. Discard it.
    Signs to watch for:

    • Damp clumps that don’t break easily
    • Musty odour
    • Any visible mould or unusual colour

    Prevent sour/off smells (simple habits that work)

    • Keep lafún sealed tightly after every use
    • Store in a cool, dry cupboard, away from steam (kettle/cooker area)
    • Use dry spoons only (no wet cups, no damp hands)

    For a detailed storage guide that covers moisture, odours and pantry pests, read:
    https://shop.greenunison.com/flour-pap-storage-guide-to-beat-weevils-moisture-odours/


    3) “My amala is watery / too soft” — why it happens + how to firm it up

    Why it happens

    • Too much water at the start
    • Not enough cooking time (it hasn’t properly set)
    • You added water late and didn’t turn long enough afterwards

    Fix now

    1. Put the pot back on medium heat.
    2. Sprinkle lafún little by little, turning each addition in fully.
    3. Cover for 1 minute to steam, then give a final turn.

    Don’t rush. Watery amala needs heat + turning time to become cohesive.

    Prevent next time

    • Start within the ratio range (1 cup : 2–2½ cups water)
    • Keep heat at medium once flour goes in
    • If you must add water, add hot water in small splashes and turn properly

    Common mistakes (and the easy swap)

    • Dumping the flour in one go → sprinkle gradually
    • Stopping whisking too early → whisk until it thickens, then switch to spatula
    • Heat too high → medium heat gives smoother results
    • Using a light pot → a heavier pot reduces scorching and helps texture

    FAQs

    Can I fix amala lafun after it has cooled?

    You can, but it’s never as perfect as fresh. Reheat on low heat with a small splash of hot water, cover briefly, then turn until smooth.

    Is lafún the same as fufu powder?

    They’re both cassava-based, but lafún is typically fermented with a more distinct aroma.
    If you prefer a milder, neutral swallow, try: https://greenunison.com/product/nature-powered-fufu-powder/

    How do I store lafún so it doesn’t clump or smell off?

    • Seal airtight after every use
    • Keep it cool and dry (away from steam)
    • Use dry utensils only
      Full guide: https://shop.greenunison.com/flour-pap-storage-guide-to-beat-weevils-moisture-odours/

    Related reads (if you love smooth, lump-free swallows)

    • Plantain flour swallow troubleshooting: https://shop.greenunison.com/plantain-flour-amala-3-minute-whisk-method/
    • Corn flour swallow (tuwo) for beginners: https://shop.greenunison.com/tuwo-masara-smooth-corn-flour-swallow/
    • Corn flour baking ideas: https://shop.greenunison.com/corn-flour-bread-without-wheat/

    Call to action (order in 30 seconds)

    Want the easiest start (fine, smooth lafún that cooks evenly)?

    • Buy Lafun on the website: https://greenunison.com/product/nature-powered-lafun/
    • Browse all flours: https://greenunison.com/shop/flours/
    • WhatsApp catalogue: https://wa.me/c/2348103043789
    • Chat to order (prefilled):
      https://wa.me/2348103043789?text=Hi%20Green%20Unison%20%F0%9F%91%8B%20I%20want%20to%20order%20Nature%20Powered%20Lafun%20for%20smooth%20amala.%20Please%20share%20your%20best%20ratio%20and%20delivery%20options.%20Thank%20you!

    Save this post—next time amala misbehaves, you’ll fix it in one scroll

  • How to Turn Fufu Powder into Smooth, Stretchy Swallow (Without Turning It to Glue)

    Have you ever made fufu from instant powder, only to end up with a sticky, glue-like blob or stubborn lumps? Don’t worry – you’re not alone, and we’ve got you covered. Fufu (cassava swallow) is a beloved staple, but getting that perfectly smooth, stretchy texture from fufu powder can be tricky if you don’t know the right technique. In this guide, we’ll walk you through how to mix fufu powder so you get soft, lump-free swallow every time – no gluey mess, no stress. Grab your pot and let’s fix those fufu woes!

    Why Does Fufu Sometimes Turn Out Like Glue?

    If your fufu feels more like super glue than a smooth swallow, a few usual suspects are likely at play:

    • Too Much Water: Using excess water can make fufu overly soft and sticky. Cassava is full of starch, so too high a water-to-powder ratio turns it into a gloopy paste.
    • Too Little Water (or Heat): Ironically, the opposite can also cause issues. Not enough water or letting the mixture dry on high heat can lead to lumps and uneven cooking, making parts of the fufu gluey while other parts stay raw or clumpy.
    • Poor Mixing Technique: Dumping powder in all at once or not stirring properly will create lumps. Those lumps have dry powder inside, which never fully cooks – leading to a lumpy, sticky texture.
    • Wrong Powder or Quality: Coarse or low-quality fufu flour might not incorporate smoothly. A finely milled, well-processed powder (like our own Green Unison Instant Fufu Powder) is less prone to lumps and cooks into a better texture.

    The good news? By adjusting your method, you can avoid all these issues. It’s mostly about the right water ratio, heat control, and constant stirring. Let’s dive into the step-by-step solution for a perfect, non-gluey fufu.

    How to Make Smooth, Stretchy Fufu from Powder (Step by Step)

    Making fufu powder into a smooth swallow is easy once you get the hang of it. Here’s how to do it:

    1. Boil the Water First (But Don’t Overdo It)

    Start with fresh, clean water in your pot – about 2 to 2.5 cups of water for each cup of fufu powder. This ratio gives a good consistency (you can adjust as you learn your preferred thickness). Bring the water to a rolling boil first. Boiling water is key to cooking the cassava starch quickly and evenly. However, don’t keep it at a furious boil once it’s bubbling – extremely high heat can scald the fufu and create lumps.

    Pro Tip: As soon as the water boils, reduce the heat to medium (or even low). You want the water hot but not erupting when you start adding the powder. This controlled heat will cook the fufu without burning it.

    2. Add Fufu Powder Gradually While Stirring

    Now, grab a sturdy wooden spoon or a whisk. (We love using a whisk at the start for lump-free results – it’s a game-changer!) Slowly pour the fufu powder into the hot water in a steady stream, little by little, while stirring vigorously. This gradual addition helps to “scatter” the powder into the water so no clumps form.

    If you dump all the powder at once, you’ll get big lumps that are hard to dissolve. So be patient – add a bit of powder, stir until it’s incorporated, then add more. Keep the pot on medium heat as you do this; too high and the mixture might cook too fast on the bottom, too low and it won’t cook at all.

    Keep stirring constantly with your spoon/whisk. You’ll notice the mixture thickening gradually into a dough-like consistency as the powder absorbs water.

    3. Stir Continuously (Switch to a Wooden Spoon When Thick)

    Once all the powder is in and it starts to form a thick consistency, it’s muscle time! Stir, fold, and turn the fufu in the pot continuously. At this stage, a wooden spoon (or the traditional “turning stick”) works better than a whisk because the fufu is now heavy and stretchy.

    Press the fufu against the sides of the pot as you stir to squash any small lumps. Keep the heat on low-to-medium to ensure the fufu cooks through without burning. You’ll notice it becoming smoother with each turn. This step usually takes just a few minutes – you’re basically “kneading” the fufu in the pot with your spoon.

    Pro Tip: If you see any tiny lumps, don’t panic. Keep the spoon moving and apply a bit of pressure against the pot – those lumps will melt away into the hot fufu. Consistent stirring is what transforms the mix into that coveted smooth, stretchy ball.

    4. Adjust the Consistency (Water or Powder Fixes)

    After a few minutes, evaluate the texture. This is where you tweak to get your perfect swallow:

    • If the fufu is too thick or hard (difficult to turn, feels stiff or dry): Sprinkle a little hot water around the edges of the pot. Fold it in and stir. The hot water will incorporate and soften the dough. Add water in small increments (a few tablespoons at a time) so you don’t overshoot and turn it to mush.
    • If the fufu is too soft or sticky (gluey): This means there’s excess moisture. You can rescue it by adding a tiny bit more fufu powder and quickly working it in. Just a tablespoon or two can firm up a overly soft fufu. Keep the heat on low while you do this so the new powder cooks in.
    • If lumps are appearing (small dry clumps): You likely added powder too fast or didn’t stir enough initially. No worries – add a splash of water and cover the pot for about 30 seconds to a minute. This can help steam and soften the lumps. Then uncover and vigorously beat the fufu with the spoon to break the lumps apart. (Wear oven mitts or use a cloth to hold the pot – it might jiggle.) In future, remember to whisk and stir from the get-go to prevent lumps.

    By adjusting with a bit more water or powder, you can fine-tune the fufu’s feel. Eventually, you’ll get a sense of your ideal texture – some like it very soft and almost stretchy-sticky (but not uncooked or gluey), others prefer it a tad firmer.

    5. Know When It’s Ready

    You’ll know your fufu is ready when it’s smooth in appearance, free of lumps, and has a bit of stretch to it. It should pull away slightly from the sides of the pot as you stir, forming a nice cohesive mass. Another sign: the color usually changes to an off-white and loses the raw cloudy look, indicating it’s well cooked.

    Traditionally, people will mould it into a ball at this point. You can do this by scooping it out onto a plate and using a plastic wrap or latex gloves to shape it – careful, it’s hot! Once balled, you might see a slight sheen on the surface; that’s a good sign of smoothness and stretch.

    If you’re not sure, taste a tiny bit (careful, let it cool) – it should taste cooked (no raw starchy taste) and have a nice smooth mouthfeel with no floury lumps.

    Congratulations, you’ve just made a perfect swallow from fufu powder! Time to get that soup ready.

    Extra Tips for Lump-Free, Non-Sticky Fufu

    • Use a Whisk for the First 1-2 Minutes: We can’t say this enough – a whisk is excellent for combining the powder and water initially. It breaks up clumps quickly. Once the fufu thickens, switch to a wooden spoon to finish it off. This two-tool approach is our secret weapon for super smooth fufu. (In fact, we even used this trick for lump-free plantain amala – check out our 3-minute whisk method for plantain flour amala for a similar hack!).
    • Steady, Moderate Heat: Resist the urge to cook on high heat the whole time. High heat can cause uneven cooking – you’ll get a burnt bottom and raw top (gluey!). Medium heat while stirring, and low heat when adjusting consistency, works best to cook the fufu evenly without scorching.
    • Quality of Powder Matters: A well-processed, finely milled cassava flour will give a smoother result. Our Instant Fufu Powder is designed for easy, lump-free mixing – it’s finely milled and properly fermented/dried, so it cooks fast and smooth. Cheaper or raw cassava flours might need more elbow grease to get similar results. If you’ve struggled with those, it might be time to upgrade to a smoother experience.
    • Work Those Arms (But Not Forever): Fufu doesn’t actually take long to cook – usually 3-5 minutes of stirring once the powder is in. If you’re stirring for 10+ minutes and it’s still not coming together, something’s off (either ratio or heat). Stop and troubleshoot (add water or powder as above). When done right, your fufu should be ready in minutes – a quick workout and you’re done!
    • Keep the Lid Nearby: If at any point you need to step away (or your arm needs a quick break), turn the heat to very low and cover the pot. The steam under the lid will keep it moist and prevent a “crust” from forming. Just don’t leave it unattended too long. When you come back, you may find some water on top – simply stir it in. Covering for a short moment can also help cook out any remaining tiny lumps as mentioned earlier.

    By following these tips, you’ll be dishing out swallows that make you do a little happy dance at dinnertime. No more hiding a sticky fufu disaster under a mountain of soup – you’ll have that smooth, elastic texture that’s perfect for scooping up your favorite soups (Egusi, Efo Riro, Ogbono – bring them on! 😋).

    Common Mistakes to Avoid (Your Fufu No-Glu Squad)

    To recap, keep an eye out for these common mistakes when preparing fufu from powder, and you’ll save yourself from a lot of “swallow sorrow”:

    • Adding Powder Too Fast: This is the #1 culprit for lumps. Always pour gradually and whisk/stir while adding.
    • **Using *Way* Too Much Water:** Eyeballing water and accidentally using far more than a 2:1 ratio can make a pot of paste. Measure your water, and remember you can always add a little more if needed, but you can’t easily take it out.
    • High Heat All Through: Blasting the stove on high will cook the bottom layer to death while the top is still raw. It often leads to a lumpy, gooey mix. Start high to boil, then always reduce heat when mixing and finishing the cook.
    • Neglecting the Stirring: We get it, your arm might ache, but constant stirring (for those few critical minutes) is what works the magic. Stopping too early or stirring lazily will result in lumps and uneven texture. Tag team with someone if you need a break – it’s worth it!
    • Using a Wet Spoon from the Start: This is a subtle one – make sure your stirring spoon is dry when you begin. Introducing water drips while adding powder can create instant tiny clumps. Keep things dry until everything is well mixed. Then you can sprinkle water later if adjusting.

    Avoid these pitfalls and you’ll dramatically increase your chances of first-time success with smooth fufu.

    From Powder to Perfection: You’ve Got This!

    Making perfect fufu from instant powder is a skill worth mastering – and now you have all the tips to do it. It might take a try or two to get your preferred consistency spot on, but even your first attempt using these steps will be miles better (and easier) than struggling in the dark. Remember, even seasoned home cooks had to learn these tricks at some point. Now you’re in on the secrets!

    So the next time it’s swallow o’clock and you’re craving that comforting mound of fufu with steaming soup, you can approach the stove with confidence. No more fearing you’ll end up with a pot of goo or a lumpy, bumpy ball. Instead, you’ll scoop out a beautiful, smooth and elastic fufu that holds together yet gently yields as you tear off a bite. That’s the texture we’re going for!

    And if you need a little help (or just want to make life easier), remember that the quality of your powder makes a difference. Green Unison’s Instant Fufu Powder is made to give you that smooth, stretchy result without the hassle. We’ve done the tedious part – peeling, fermenting, drying and finely milling the cassava – so that when it reaches your kitchen, it practically mixes itself (with a bit of whisking love from you, of course!).

    Ready to turn your fufu powder into the perfect swallow? Grab a pack of Instant Fufu Powder from our shop and give it a go! We’re excited for you to enjoy easier, quicker fufu that doesn’t turn into a glue monster.

    Have any questions or want to order directly? We’re just a message away! Feel free to reach out on our WhatsApp catalogue to see our products, or chat with us on WhatsApp to get personal assistance with your order. Simply click here: Chat on WhatsApp – we’ve even pre-filled the hello message for you. 📲💬 We deliver nationwide, so your fufu fix is just an order away.

    Enjoy your lump-free, non-sticky fufu and happy eating!

  • Tuwo Masara for Beginners: Smooth, Stretchy, Lump-Free Every Time

    Prep time: 5–10 minutes
    Cook time: 10–15 minutes
    Serves: 2–3 (adjust proportions as needed)

    Tuwo Masara — a comforting corn-flour swallow — should be soft, smooth and hold together without crumbling. If you’ve had trouble with lumpy tuwo or a swallow that breaks apart, this beginner-friendly guide is for you. It focuses only on using finely milled corn flour (the kind sold for swallow preparation) and gives clear, repeatable steps that remove the guesswork.

    Why this method works: start with a thin slurry so the flour disperses evenly, cook a stable base, then add the remaining flour slowly while stirring. A final short steam ensures the centre cooks through and the tuwo binds together for a stretchy, lump-free finish.


    Ingredients & tools

    Ingredients (approximate — scale to suit):

    • 1 cup finely milled corn flour (white or yellow) — see product link below
    • 2–2½ cups water (for ~1 cup corn flour) — plus a little extra if needed
    • A pinch of salt (optional)

    Tools:

    • Heavy-bottomed pot or saucepan
    • Sturdy wooden spoon or heatproof spatula (a turning stick is ideal)
    • Small mixing bowl for the slurry
    • Measuring cup and spoon

    Order fine corn flour: Green Unison Finely Milled Corn Flour — suitable for tuwo masara and made for smooth mixing. You can also browse all our flours here: https://greenunison.com/shop/


    Quick explanation: why lumps and breakage happen

    • Dry flour dumped into hot water causes clumps that are hard to break down.
    • Coarse flour or unsieved flour doesn’t dissolve evenly, leaving a grainy texture.
    • Too little water makes a dry, crumbly dough that falls apart.
    • Insufficient cooking/steaming leaves the centre undercooked and prone to breaking.

    The instructions below address each of these issues.


    The Smooth Tuwo Method — step-by-step

    This two-stage method (slurry → gradual dry add) is the simplest and most reliable for beginners.

    1. Heat the water
      Add 2–2½ cups of water to your pot and bring to a rolling boil. Reduce heat to medium so the water is hot but not vigorously boiling (this gives you better control when adding flour).
    2. Make a thin corn-flour slurry
      In a small bowl, combine half of the corn flour (about ½ cup) with cold water to make a smooth, runny batter (think thin porridge). Mix until there are no dry pockets. This slurry prevents instant lumping when it hits the hot water.
    3. Cook the slurry into a base
      Pour the slurry into the hot water slowly while stirring continuously. The mixture will thicken quickly into a pap-like base. Stir for 2–3 minutes to cook out the raw corn taste and to form a stable foundation.
    4. Add the remaining flour gradually
      Sprinkle the remaining dry corn flour into the pot in small handfuls while stirring vigorously. After each sprinkle, work the flour in until incorporated. This gradual addition is the step that prevents lumps — patience here is key.
    5. Adjust to the right consistency
      As the mixture becomes thick, it should be moist and elastic rather than dry and crumbly. If it firms up too fast, splash in a tablespoon or two of hot water and continue stirring. Aim for a dough that pulls cleanly from the pot sides and holds shape when scooped.
    6. Steam for a few minutes
      When the mixture is smooth and homogeneous, reduce the heat to low, cover the pot and let it steam for 2–3 minutes. This finishing steam cooks the centre and helps the tuwo bind so it won’t fall apart.
    7. Final stir and shape
      Uncover, give a final vigorous stir, then scoop and mould into round portions using a wet spoon or a bowl lined with plastic. Serve hot with your preferred soup or stew.

    Ratio cheat-sheet (no scale)

    • Starter (thin slurry): ½ cup corn flour + enough cold water to make a thin batter (approx. ¾ cup cold water)
    • Boiling water: 2–2½ cups of hot water for 1 cup total corn flour
    • Adjust: Add hot water a tablespoon at a time if mixture feels too stiff while cooking

    Tip: If cooking for more people, increase flour and water proportionally — keep the slurry stage and gradual flour addition the same.


    Extra tips for success

    • Use finely milled corn flour — coarser flours can give a grainy finish. Our recommended product is designed for swallow preparation.
    • Stir with purpose: a sturdy wooden spoon helps you reach every part of the pot and prevents scorching.
    • Don’t rush adding the dry flour. Small additions and full incorporation are the secret to zero lumps.
    • If lumps appear: take the pot off the heat and vigorously stir or smash them against the pot side with the spoon, then return to the heat and continue. For small stubborn lumps, a short blender blitz (if removed and cooled slightly) can rescue a batch, but prevention is preferable.
    • Steaming matters: a brief covered cook at the end makes the tuwo cohesive and elastic. Skipping it is a common reason for crumbling.

    Serving ideas

    Tuwo Masara pairs well with rich, flavourful soups. Some popular combinations:

    • Groundnut (peanut) soup — nutty and rich
    • Egusi (melon seed) stew — hearty and spicy
    • Vegetable or tomato-based soups — for lighter pairings

    Scoop a small ball of tuwo, dip into hot soup and enjoy. For a prettier plate, use yellow corn flour for a warm golden colour.


    Storage & reheating

    • Best eaten fresh. Tuwo is softest and most pleasant hot.
    • To keep: wrap warm tuwo in cling film and refrigerate for up to 24–48 hours.
    • Reheat: sprinkle a little hot water over the portion and reheat gently on the stove with stirring until soft, or microwave briefly with a sprinkle of water — stirring halfway through.

    Frequently asked questions

    Q — Can I use cornmeal or corn starch instead?
    A — Cornmeal (coarser) will give a grainier texture; if you must use it, sieve first and accept a different mouthfeel. Corn starch is a pure starch and not suitable as the main ingredient for tuwo masara. Use a finely milled corn flour made for swallows.

    Q — How do I know the tuwo is done?
    A — The tuwo should be smooth, pull away from the pot sides, and feel elastic when you scoop it. A short steam finishes the cooking and sets the texture.

    Q — Is tuwo masara gluten-free?
    A — Yes — when made from pure corn flour, tuwo is naturally gluten-free.


    Related resources & internal links

    • Our corn flour product: Green Unison Finely Milled Corn Flour — https://greenunison.com/product/nature-powered-corn-flour/
    • Browse all flours: https://greenunison.com/shop/
    • For more behind-the-scenes reading, see our collection: Farm to Cup — Behind the Scenes of Our Dried Herbs (find related posts and guides in the blog sitemap): https://shop.greenunison.com/post-sitemap.xml
    • Want a storage guide for flours? Check our blog for flour storage tips (link to related post in your CMS when you publish).

    Ready to try it?

    Give the smooth tuwo method a go today — it’s quick, forgiving and perfect for beginners. If you’d like to order the corn flour we recommend, you can:

    • Buy online: https://greenunison.com/product/nature-powered-corn-flour/
    • Browse our shop / other flours: https://greenunison.com/shop/
    • View our WhatsApp catalogue: https://wa.me/c/2348103043789
    • Chat or order via WhatsApp: https://wa.me/2348103043789?text=Hi%20Green%20Unison!%20I%20want%20to%20buy%20your%20corn%20flour%20for%20tuwo.

    If you found this guide helpful, please leave a comment on the blog, share your finished tuwo picture, or send us a message on WhatsApp. Happy cooking!

  • Plantain Flour Amala: The 3-Minute Whisk Method (Plus How to Fix Lumps, Stickiness & Bitter Taste)

    If you’ve ever made plantain flour amala and ended up with lumps, a sticky paste, or a slightly bitter taste, you’re not alone. The good news: you don’t need a sieve, special tools, or long stirring sessions.

    This is the 3-minute whisk method we use when we want smooth amala fast—plus exact fixes if anything goes wrong.

    Best for: busy weeknights, first-timers, “I need swallow now” moments.


    What you’ll need (simple)

    • Plantain flour (finely milled works best): Nature Powered Plantain Flour
    • Water
    • A pinch of salt (optional, but helpful for taste)
    • Balloon whisk (or a sturdy fork in a pinch)
    • Pot + wooden spatula (for final smoothing)

    Want to browse all our flours? Start here: Shop Flours


    The 3-Minute Whisk Method (Lump-Free)

    Step 1: Get your water hot (30–60 seconds)

    Bring water to a boil, then reduce to medium heat (still steaming/hot, not raging).

    Step 2: Whisk first, pour flour like rain (60–90 seconds)

    Keep the whisk moving and sprinkle plantain flour gradually—don’t dump it all at once.
    You’ll see it thicken quickly.

    Step 3: Smooth & fold (60 seconds)

    Once it gets thick enough that whisking feels heavy:

    • switch to a wooden spatula
    • fold, press, and turn for about 1 minute
    • cover for 30 seconds (optional), then give it one final smooth turn

    Done. Serve immediately with your favourite soup.


    Quick ratio guide (start here, then adjust)

    Because flour fineness and personal preference vary, use this as a reliable starting point:

    • 1 cup plantain flour : 2 cups water → firm, classic swallow texture
    • Prefer it softer? add hot water 1–2 tablespoons at a time while turning.

    Tip: If you’re cooking for one, start smaller and scale up once you like your texture.


    Troubleshooting (Save this part)

    1) “I have lumps” — How to fix it fast

    Why it happens: the outside of the flour hits hot water and gels before the inside hydrates.

    Fix (choose one):

    • Hot-water rescue: take pot off heat, add 2–4 tbsp hot water, whisk hard for 20–30 seconds, then return to medium heat and turn smooth.
    • Press & turn: press lumps against the pot side with your spatula while turning.
    • Prevention for next time: sprinkle flour gradually and keep whisk moving before it thickens.

    2) “It’s sticky / gluey” — How to correct it

    Common causes:

    • too much water
    • undercooked (needs a bit more heat time)
    • too much aggressive stirring after it has set

    Fix:

    • return to medium heat for 60–90 seconds, turning gently (cooking helps it set properly)
    • if it’s still too soft, sprinkle 1–2 teaspoons of plantain flour and turn until it firms up
    • cover for 30–60 seconds to steam, then smooth once

    3) “It tastes bitter” — What’s going on?

    Plantain flour can have a naturally “earthy” note, but bitter is usually one of these:

    • flour has picked up off-flavours from heat/humidity
    • flour stored unsealed near strong smells
    • pot got too hot and the bottom scorched slightly

    Fix now:

    • add a tiny pinch of salt and serve with a rich soup (bitterness fades in balance)
    • if you suspect scorching, transfer to a clean pot and continue gently for 30 seconds

    Prevent next time:

    • store flour sealed, cool, and dry
    • avoid very high heat once thickening starts

    Common mistakes (and the easy swap)

    • Dumping flour in one go → sprinkle it gradually
    • Whisking stops too early → whisk until it’s thick, then switch to spatula
    • Heat too high → medium heat gives smoother results

    FAQs

    Can I mix with cool water first?

    Yes—if you’re a beginner, you can make a smooth slurry with a little cool water first, then pour into hot water while whisking. It’s slower, but very safe for lump-free results.

    Can I reheat leftover amala?

    Yes. Add a splash of hot water, cover, and warm on low heat. Turn once it softens.

    What to buy for this method?

    If you want the easiest, smoothest start, use a finely milled flour:


    Related reads from our blog


    Call to action (order in 30 seconds)

    Ready to make lump-free plantain flour amala this week?

    • 🛒 Buy on website: greenunison.com
    • 📦 WhatsApp catalogue: https://wa.me/c/2348103043789
    • 💬 Chat to order (prefilled): https://wa.me/2348103043789?text=Hi%20Green%20Unison%2C%20I%20want%20to%20order%20Plantain%20Flour%20for%20amala%20ogede.%20Please%20share%20your%203-minute%20whisk%20method%20ratio%20and%20delivery%20options.%20Thank%20you%21

    Pin this post so the troubleshooting section is always one scroll away.